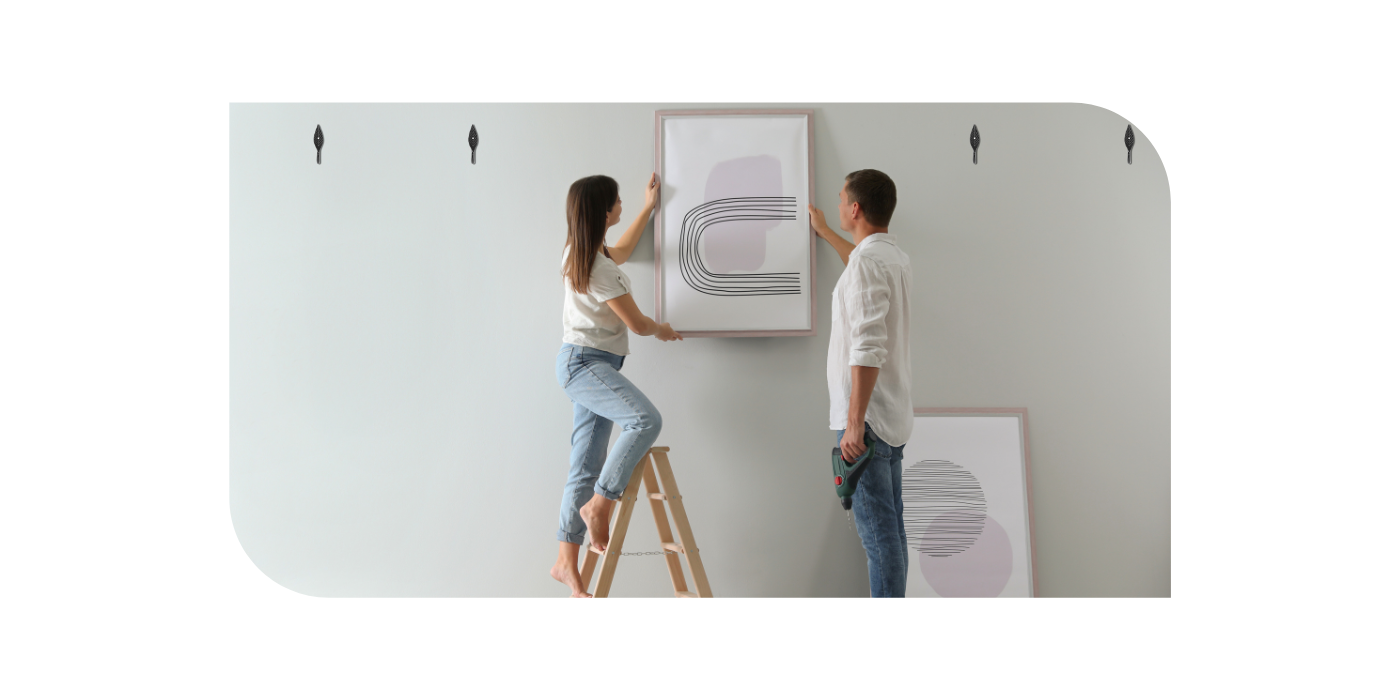
Hanging Hooks Made Easy: A Step-by-Step Guide to Attaching Wrought Iron Hooks
Hanging hooks are essential accessories for showcasing your favourite plants, artwork, or decorative items with style and elegance. If you're wondering how to attach wrought iron hooks securely and effortlessly, you've come to the right place. In this blog post, we will provide you with a step-by-step guide on how to attach hanging hooks, ensuring a seamless installation process and enabling you to transform your living space into a captivating visual delight.
Step 1: Choose the Right Location
Before you begin attaching your wrought iron hooks, carefully consider the location where you want to hang your items. Take into account the weight of the object you intend to hang and ensure that the surface or wall can support it. Additionally, consider the visual impact and accessibility of the desired location to create an aesthetically pleasing display.
Step 2: Gather the Necessary Tools
To attach hanging hooks, you will need a few tools to ensure a secure and stable installation. Gather the following items:
- Tape measure or ruler
- Pencil or marker
- Screwdriver or drill
- Wall anchors (if necessary)
- Screws suitable for your wall type (drywall, wood, or masonry)
Step 3: Mark the Placement
Using a tape measure or ruler, measure the desired distance between the hooks. Mark the spots lightly with a pencil or marker. Ensure that the marks are level and aligned to maintain a balanced display.
Step 4: Install Wall Anchors (if necessary)
If you are attaching the hooks to drywall or a hollow wall, it is crucial to use wall anchors to provide additional support. Drill pilot holes at the marked spots, and then insert the wall anchors securely into the holes.
Step 5: Attach the Hooks
Align the holes in the hooks with the marked spots or wall anchors. If using screws, use a screwdriver or drill to attach the hooks firmly to the wall or surface. For iron wrought hooks, ensure that the screws are tightened snugly but avoid overtightening to prevent damage to the hook or wall.
Step 6: Test the Stability
After attaching the hooks, give them a gentle tug to ensure they are securely fastened. If there is any wobbling or instability, readjust the hooks or tighten the screws as needed. This step is crucial to ensure the safety of your hanging items.
Step 7: Hang Your Items
Once the hooks are securely attached, it's time to hang your items! Carefully place your potted plants, artwork, or decorative pieces onto the hooks, making sure they are balanced and positioned as desired. Step back and admire the beautiful display you've created.
Attaching wrought iron hooks doesn't have to be a daunting task. By following this step-by-step guide, you can confidently install your hooks and showcase your precious items with elegance and ease. Remember to choose the right location, gather the necessary tools, mark the placement accurately, install wall anchors if needed, attach the hooks securely, test for stability, and finally, hang your items with care. With these simple steps, you can enjoy a visually stunning display that adds charm and sophistication to your living space.
